Are you interested in learning how to do intarsia woodworking? This intricate and beautiful woodworking technique has a long history, dating back to ancient times. The art of intarsia involves creating stunning designs and images by fitting together various types of wood, showcasing the natural beauty of different woods through meticulous craftsmanship.
Intarsia woodworking is a highly respected craft that requires patience, precision, and a keen eye for detail. In this article, we will explore the artistry and techniques involved in intarsia woodworking, providing you with the knowledge and skills needed to embark on your own intarsia projects.
Throughout this article, we will cover everything from the tools and materials needed for intarsia woodworking to designing patterns, preparing and assembling wood pieces, as well as finishing and troubleshooting common issues. Whether you are a novice woodworker or an experienced craftsman looking to expand your repertoire, this comprehensive guide will help you master the art of intarsia woodworking.
Tools and Materials Needed for Intarsia Woodworking
When it comes to intarsia woodworking, having the right tools and materials is essential for achieving precise and beautiful results. Whether you are a beginner or an experienced woodworker, having a comprehensive list of essential items is crucial. Here, we will delve into the tools and materials needed for intarsia woodworking and provide tips on where to purchase supplies.
Essential Tools for Intarsia Woodworking
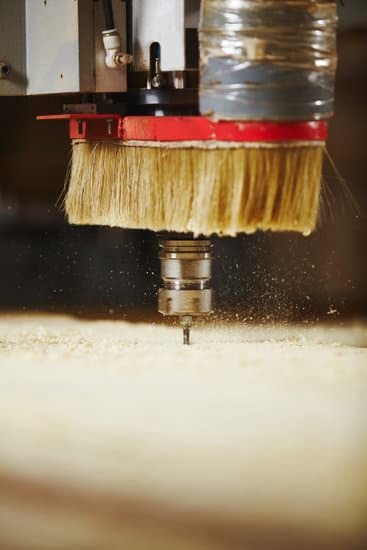
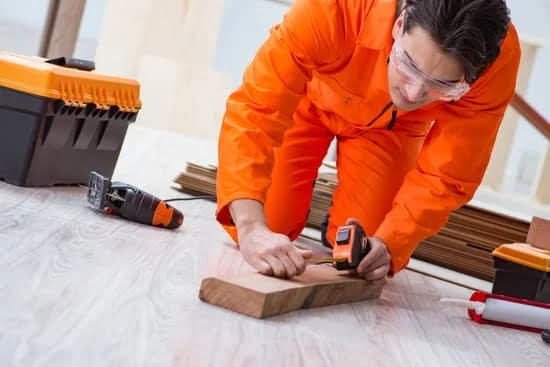
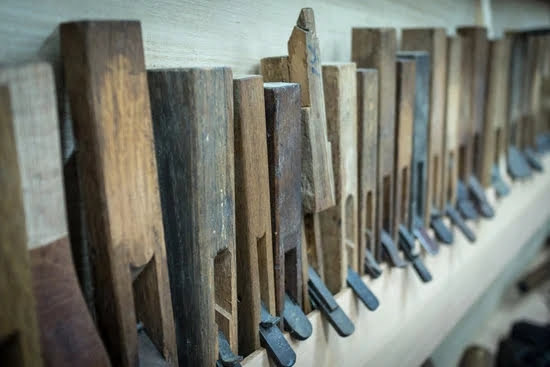
Some of the key tools needed for intarsia woodworking include a scroll saw, band saw, sanding tools (such as a rotary tool or sandpaper), clamps, chisels, and various shaping tools. Additionally, having a well-equipped workbench with good lighting and ventilation is also important for creating intricate intarsia pieces.
Materials for Intarsia Projects
In terms of materials, intarsia woodworking requires different types of wood in various colors and textures. This may include hardwoods like oak, walnut, maple, cherry, and exotic woods such as purpleheart or padauk. It is also important to have wood glue that dries clear for assembling the pieces. Additionally, some projects may call for backing boards or framing materials to display the finished piece.
Tips for Purchasing Tools and Materials
When it comes to sourcing the necessary tools and materials for intarsia woodworking, there are several options available. Local hardware stores may carry basic supplies like wood glue, sandpaper, and finishing products. Specialty woodworking stores are great places to find high-quality woods in a variety of colors. Online retailers can also provide access to a wide range of tools and materials needed for intarsia projects.
Understanding the importance of these tools and materials in intarsia woodworking sets the foundation for creating stunning pieces of art. By investing in quality supplies and equipment, woodworkers can bring their creative visions to life through this unique form of craftsmanship.
Choosing the Right Wood for Intarsia Projects
Intarsia woodworking is a beautiful and intricate art form that involves creating stunning images and designs using different types of wood. Choosing the right wood for your intarsia projects is crucial to achieving the desired aesthetic and ensuring the longevity of your finished piece. Here are some key considerations when selecting wood for intarsia woodworking:
- Wood Types: Different types of wood offer varying colors, grains, and textures, allowing for endless possibilities in intarsia designs. Common types of wood used in intarsia include walnut, cherry, maple, and oak.
- Color Variation: When choosing wood for an intarsia project, consider the natural color variations within each type of wood. These variations can add depth and dimension to your design.
- Grain and Texture: Pay attention to the grain pattern and texture of the wood, as these characteristics can significantly impact the overall look of your intarsia piece. For example, a fine-grained wood may be suitable for intricate details, while a more pronounced grain can add visual interest to larger areas.
When sourcing wood for your intarsia projects, it’s essential to find a supplier who offers high-quality lumber with consistent characteristics. Visiting a local woodworking store or exploring online suppliers can provide access to a wide range of options for your intarsia woodworking needs.
With careful consideration and selection of the right wood for your intarsia projects, you can elevate the artistry and craftsmanship of your creations while showcasing the natural beauty of different wood types in stunning detail.
Ultimately, understanding how to do intarsia woodworking involves not only mastering cutting techniques and assembling intricate pieces but also learning how to choose the right materials that will bring out the best in your designs. With attention to detail and a keen eye for quality lumber, you can create breathtaking intarsia pieces that showcase the beauty of woodworking artistry.
Preparing the Wood for Intarsia
Intarsia woodworking is a meticulous and intricate form of art that requires careful attention to detail, especially when it comes to preparing the wood for projects. The first step in preparing the wood for intarsia is selecting the right type of wood. Different types of wood offer distinct colors, grains, and textures, allowing for endless creative possibilities in intarsia woodworking.
Once the wood has been selected, it must be properly prepared before it can be used in intarsia projects. This involves cutting the wood into smaller pieces using a fine-toothed saw and then carefully sanding each piece to achieve a smooth and precise finish. It is essential to pay close attention to detail during this process to ensure that the final outcome is seamless and visually appealing.
When cutting the wood for intarsia, it’s important to consider the direction of the grain and how different pieces will fit together. Paying attention to these details will result in a more cohesive and polished finished product. Additionally, taking the time to properly sand each piece will ensure that they fit together seamlessly without any rough edges or inconsistencies.
Ultimately, proper preparation of the wood is crucial for successful intarsia woodworking projects. By carefully selecting the right type of wood, cutting it into precise pieces, and meticulously sanding each component, woodworkers can set themselves up for success as they embark on their intarsia journey.
| Key Point | Details |
|---|---|
| Wood Selection | Choose different types of wood based on color, grain, and texture |
| Cutting and Sanding | Use a fine-toothed saw for cutting and carefully sand each piece for a smooth finish |
| Attention to Detail | Paying close attention to grain direction and consistent sanding will result in cohesive finished products |
Designing and Creating Intarsia Patterns
Intarsia woodworking is known for its intricate and detailed designs, making the choice of patterns a crucial aspect of this craft. When it comes to designing and creating intarsia patterns, there are several methods that woodworkers can explore.
One popular approach is to use specialized software or applications that allow users to generate their own custom intarsia patterns. These programs often provide features for adjusting the size, shape, and complexity of the patterns, giving woodworkers the flexibility to create unique designs.
For those who prefer a more traditional approach, hand-drawn patterns can also be used for intarsia woodworking projects. This method allows for complete artistic freedom and is particularly favored by woodworkers who enjoy the process of sketching and designing by hand.
Additionally, there are numerous pattern books available in the market that offer a wide range of designs suited for different skill levels, from beginner to advanced. These books often come with templates that can be traced onto the wood, making the design process more accessible.
Scaling patterns for various projects is another important consideration when designing intarsia patterns. Depending on the size and complexity of the finished piece, woodworkers may need to adjust the scale of their chosen pattern accordingly. This requires careful planning and attention to detail in order to ensure that the final piece maintains its visual balance and coherence. Additionally, selecting appropriate wood types based on color variation can greatly enhance the overall aesthetic appeal of an intarsia project.
| Intarsia Pattern Design Methods | Advantages |
|---|---|
| Specialized software/applications | Flexibility in creating custom designs |
| Hand-drawn patterns | Artistic freedom and creative expression |
| Pattern books/templates | Accessibility for woodworkers at different skill levels |
Assembling Intarsia Wood Pieces
Guidelines for Assembling Intarsia Wood Pieces
Assembling intarsia wood pieces is a crucial step in the process of creating stunning and intricate woodworking projects. It requires precision, patience, and attention to detail to ensure that the finished piece looks seamless and cohesive.
To begin assembling your intarsia wood pieces, start by laying out all the individual components of your design in the correct order. This will allow you to visually assess how the final piece will come together and make any necessary adjustments before permanently joining the pieces.
Techniques for Achieving Seamless Joints
Achieving tight-fitting joints is essential for creating high-quality intarsia woodworking projects. One effective technique is to use a scroll saw with a fine blade to precisely cut along the pattern lines. This will help ensure that the pieces fit together seamlessly without any noticeable gaps. Additionally, using sandpaper or a rotary tool with sanding attachments can help refine the edges of each piece, allowing for a snug fit when assembling them.
Another helpful technique involves dry-fitting the pieces before applying glue. Dry-fitting allows you to test how well the pieces fit together without any adhesive, giving you an opportunity to make any necessary adjustments before committing to a permanent bond. Once you are satisfied with how the pieces align, carefully apply wood glue to each joint and firmly press the pieces together.
Tips for Securing Assembled Pieces
After gluing each joint, it’s important to securely clamp the assembled pieces together while allowing sufficient time for the glue to fully cure. This will ensure that the joints remain tight and stable once the glue sets. Additionally, periodically checking for any excess glue squeeze-out and wiping it away with a damp cloth can help maintain clean and smooth surfaces on your intarsia project.
By following these guidelines and techniques for assembling intarsia wood pieces, you can elevate your woodworking skills and create stunning works of art that showcase precision craftsmanship and meticulous attention to detail.
Finishing and Sealing Intarsia Woodwork
When it comes to intarsia woodworking, the finishing and sealing of your projects play a crucial role in enhancing the overall look and durability of your pieces. Here’s a guide on how to finish and seal intarsia woodwork for a professional and long-lasting result.
1. Choose the Right Finish: Selecting the appropriate finish for your intarsia project is essential. Whether you prefer a natural wood look, a glossy finish, or a specific color stain, there are various options to consider. Some popular finishes for intarsia woodworking include polyurethane, lacquer, shellac, and oil-based finishes.
2. Application Techniques: Once you’ve chosen the right finish for your project, it’s important to apply it correctly. Whether you’re brushing, spraying, or wiping on the finish, make sure to follow the manufacturer’s instructions for best results. Take your time and apply thin coats evenly to achieve a smooth and flawless finish.
3. Sealing for Protection: After applying the finish, sealing the wood is crucial to protect it from moisture, heat, and wear over time. This step can greatly enhance the longevity of your intarsia piece. Consider using a clear sealant or topcoat to provide an extra layer of protection while preserving the beauty of the wood.
By following these steps for finishing and sealing your intarsia woodworking projects, you can ensure that your creations not only look stunning but also withstand the test of time.
Troubleshooting Common Intarsia Woodworking Issues
Intarsia woodworking, like any other form of woodworking, comes with its own set of challenges and potential issues that may arise during the creative process. Understanding how to troubleshoot these common problems can make a significant difference in the overall quality of your intarsia projects. From handling gaps and uneven surfaces to addressing color mismatches, here are some essential tips for troubleshooting common intarsia woodworking issues.
One of the most common problems faced in intarsia woodworking is dealing with gaps between wood pieces. This can occur due to inaccuracies in cutting or fitting the pieces together. To address this issue, it’s important to carefully inspect each joint and identify where the gap is occurring.
Using fillers such as wood putty or epoxy resin can help fill in these gaps and create a seamless appearance. Additionally, ensuring that the wood pieces are precisely cut and fit together can prevent gaps from occurring in the first place.
Uneven surfaces can also pose a challenge in intarsia woodworking, especially when working with multiple layers of wood pieces. Taking the time to sand each individual piece to achieve uniform thickness is crucial for creating a smooth and level surface when assembling the project. In cases where unevenness is still present after assembly, using a combination of hand sanding and power tools can help even out surfaces and create a polished final result.
Color mismatches can detract from the visual impact of an intarsia project, especially when using different types of wood with varying natural tones. One solution to this issue is applying stains or dyes to the wood pieces before assembly to achieve a more cohesive color palette. Additionally, carefully selecting wood with similar hues and grain patterns can minimize potential color disparities in the finished piece.
By understanding how to troubleshoot these common issues effectively, aspiring intarsia woodworkers can enhance their skills and create stunning works of art with confidence.
Overall, addressing these common problems requires attention to detail, patience, and a willingness to experiment with different techniques until achieving desired results. With practice and perseverance, mastering the art of troubleshooting will undoubtedly elevate your intarsia woodworking proficiency.
Conclusion
In conclusion, intarsia woodworking is a captivating and intricate art form with a rich history and remarkable craftsmanship. From the selection of wood to the assembling of pieces and the finishing touches, this woodworking technique requires dedication, attention to detail, and a passion for creativity. By following the step-by-step instructions provided in this guide, aspiring woodworkers can learn how to do intarsia woodworking and create stunning pieces that showcase their skills and artistic vision.
As discussed in this comprehensive overview, intarsia woodworking involves a variety of tools and materials essential for achieving precise and seamless results. It is important to carefully select the right type of wood based on color, grain, and texture to bring out the beauty of the final piece. Additionally, designing patterns, cutting and sanding wood properly, as well as troubleshooting common issues are crucial aspects to consider when engaging in intarsia woodworking.
Ultimately, with patience, practice, and a willingness to experiment with different techniques, anyone can master the art of intarsia woodworking. Whether it’s creating intricate wildlife scenes or decorative wall hangings, there is no limit to what can be achieved through this timeless craft. Therefore, we encourage readers to embark on their own intarsia woodworking journey and share their unique creations-a fulfilling experience that combines both technical skill and artistic expression.
Frequently Asked Questions
What Is the Intarsia Technique in Woodworking?
The Intarsia technique in woodworking involves creating a mosaic-like picture using different types and colors of wood. Each piece is carefully shaped and fitted together to form the final image.
What Tools Are Needed for Intarsia?
To practice Intarsia, woodworkers need tools such as a scroll saw for cutting the intricate shapes, sanders for smoothing the edges, and chisels for fine-tuning the fit of each piece. Additionally, clamps and glue are essential for assembling the final design.
What Wood Do You Use for Intarsia?
Various types of wood can be used for Intarsia, including both domestic and exotic species. Common choices include maple, cherry, oak, walnut, and mahogany. Wood with distinct grains and colors are often preferred to create contrast and visual interest in the finished piece.

Hi everyone! I’m a woodworker and blogger, and this is my woodworking blog. In my blog, I share tips and tricks for woodworkers of all skill levels, as well as project ideas that you can try yourself.


