Introduction
DIY woodworking plans for building a rabbit hutch provide many benefits to those looking to construct their own custom animal home. Not only do DIY plans provide clear, step-by-step directions on how to build the hutch, but they also offer an endless variety of possibilities when it comes to designing and constructing a unique living space for your pet.
Woodworking plans for building a rabbit hutch can be easily customized according to size requirements and the particular needs of your pet. Whether you’re looking for something large enough to accommodate multiple rabbits or want a more modest design with ample storage options, DIY woodworking plans often include detailed measurements as well as sketches that allow you to create a truly personalized structure. Additionally, most woodworking plans even include comprehensive lists of the materials and tools needed to complete the project. In addition to offering guidance during construction process, this feature of DIY woodworking plans helps ensure the best possible results in terms of quality and functionality.
Finally, completing a DIY project with woodworking plans can be an incredibly rewarding experience – both financially, as it is likely cost effective, and emotionally as you have created something with your own two hands! As such, DIY rabbit hutch projects are becoming increasingly popular among animal lovers across the world who are keen on creating beautiful living spaces for their pets at low costs.
Choosing the Right Wood for Your Rabbit Hutch
When it comes to constructing a rabbit hutch, the type of wood that you use will greatly affect the durability and quality of its finished product. The most important factor in selecting the right lumber is how well it stands up to moisture. Cedar, aspen, and cypress are some of the better options for outdoor rabbit hutches, as they tend to be more naturally waterproof than other types of wood. Pine and spruce can also be used for indoor cages if properly treated with waterproofing sealers. You’ll want to pick lumber with an even grain pattern and smooth edges that won’t splinter easily or create any hard spots for your rabbit’s feet. It’s also a good idea to choose wood that is pre-treated with a preservative or protective finish as this will help guard against potential rot or cracking over time due to exposure from wetness or extreme temperatures. When purchasing your wood, take into consideration factors like cost and availability since these could affect how long your hutch lasts in the future.
Preparing for Woodworking
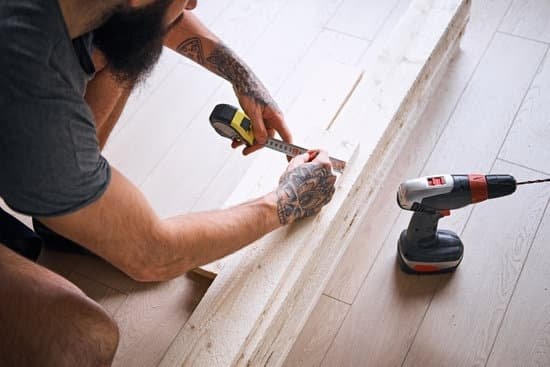
Building a rabbit hutch requires a variety of tools and materials, including saws, screws, drill bits, and nails. For those new to woodworking, the first step is to decide upon the size and type of hutch to build. This will help you determine what types of materials you require for construction. After choosing a design, it’s important to gather the materials required for each step of construction; woods such as cedar or pine can be suitable for constructing an outdoor hutch.
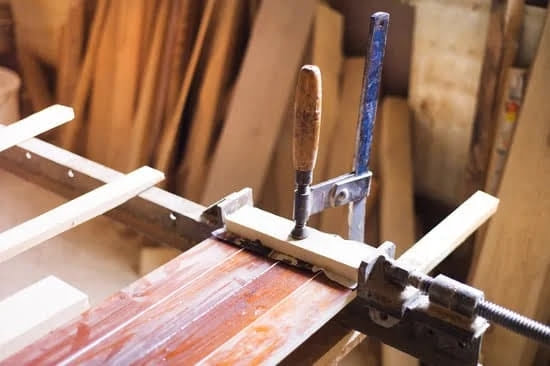
Once all necessary materials are collected, it’s time to prepare your workspace. You’ll need power tools such as a jigsaw, circular saw or band saw to cut wood pieces according to your plans. A drill press is also essential for cutting larger holes in stock or attaching fasteners with precision. You may also need chisels and drills for creating rabbets or grooves in wood surfaces. Finally, be sure to have clamps handy in order ensure that glued pieces remain secure while drying. Quality sandpaper is also recommended for smoothing rough patches on the hutch’s surface before applying finishing sealants like linseed oil or shellac wax.
Crafting the Ideal Design for a Rabbit Hutch
When planning for a rabbit hutch, it is important to make sure that your design meets the needs of your animal. It should provide plenty of space for the bunny to move around and should have an area that can be used as a shelter from the elements. The materials used should be sturdy and non-toxic, as rabbits have sensitive respiratory systems that can easily be affected by poisonous fumes. A ramp should be part of the design to allow them to move easily between levels, as well as some type of enclosure on top to keep predators out. Additionally, the size and shape of the cage need to match up to the size and breed of your bunny. All these factors will help make sure that your pet is safe and secure in their own little paradise at home.
Examining the Structure of the Rabbit Hutch
When creating a rabbit hutch, you should look closely at the type of structure you plan to build. The most common type is a two-level hutch, where the main living area is on the lower level and an upper level with a roof serves as a sleeping area and protecting them from predators. It helps to think carefully about the design in order to maximise space and make sure your rabbit can access the food, water, litter box, toys etc., that they may need. You also need to determine how much ventilation your hutch will have so your pet can stay healthy and comfortable. Consider adding windows in one or both chambers for additional air flow if needed. Additionally, it’s important to use weatherproof materials such as plywood and pressure treated wood on parts of the hutch that face rain or snow directly to extend its lifespan. Finally, never forget safety; make sure that your rabbits won’t be able to chew through any part of their living area which could lead them out into danger.
Recommended Steps for Installing Your Rabbit Hutch
1. Identify the Area & Prepare the Ground: The first step in installing a rabbit hutch is to identify an appropriate outdoor area where your pet can safely spend time, as well as have enough room to roam. You should also clear any obstructions such as plants, rocks, or tree stumps that could get in the way of you setting up the hutch. Additionally, make sure the ground beneath your chosen spot is level and smooth—if necessary, you can use soil to fill any small gaps or elevation differences.
2. Assemble Your Hutch: Once you’ve selected an area and prepared the ground it’s time to assemble your hutch. Take a look at the woodworking plan that came with your products for instructions on how to efficiently build and join together all of the components. Depending on size and complexity of your hutch design it may take several hours to complete.
3. Secure Your Hutch: With all pieces in place, use nails or screws to secure each corner so that nothing will move around once in use. Make sure everything lines up properly without stressing too much on one side – this will help keep your structure balanced even if there’s heavy wind or rain.
4. Set Upwaterand Food Dishes: Add both food and water dishes to provide your pet with all necessary nourishment while indoors or outdoors. Position each container away from direct sunlight where possible – this will ensure food stays fresh longer during the hottest times of day.Place these dishes in an easy-to-access area for added convenience when refilling them each day!
5. Insert Bedding Materials: It’s also important to add some soft bedding materials for comfort – straw is suggested for rabbits since it absorbs moisture easily when wet and doesn’t cause any skin irritation due its natural fiber makeupContact your local pet store for more details about different options available specifically designed for rabbits during colder times of year (i.e., hay).
6. HangToys & Accessories: Last but not least, hang some toys inside of your hutch along with items like wooden chewing blocks (which help keep teeth clean) that are useful for activities like lawn mowing, amongst other things! This addition further helps enrich a pet’s environment adding stimulation both physically and mentally into their daily routine – which ultimately keeps them active and healthy long-term!
Maintenance Strategies for a Long-Lasting Rabbit Hutch
Proper maintenance is essential if you wish to ensure your rabbit hutch will last for as long as possible. Here are some simple strategies for improving the longevity of your woodworking plans rabbit hutch:
1. Keep it clean and dry. Regularly sweep out the hutch and make sure any bedding or hay is kept away from wet areas, as moisture can lead to decay of wood and other materials. If there are fur or droppings on the walls, scrub them off with a mild cleaning solution – never use harsh chemicals, as these can harm the animal.
2. Pay attention to the size and placement of your hutch. Make sure you construct it using an appropriate material; untreated cedar is ideal for outdoor hutches, while indoor cages will typically be best when they’re made from lightweight metal frames with plastic coating on all sides. The sitting area of your stand should be large enough for your rabbit to have plenty of room to move around without having its movements restricted by unnecessary objects or furniture that could cause discomfort or injury in transit.
3. Apply sealants and waterproofing agents where necessary to ensure that water doesn’t penetrate the surface of your hutch. These preventative measures will keep the wooden components safe from rot and mold growth, which can shorten its lifespan drastically if ignored over time.
4. Keep metal components free from rust by regularly inspect it for areas where corrosion has begun to take hold, then sanding down those areas before applying a metal primer so that paint can adhere better onto the frame beneath it.. Finally, finish it off with a coat of weather-proof paint or varnish for added protection against UV rays and dampness moving forward throughout its life-span.
Conclusion
Once you have finished building your rabbit hutch, enjoy seeing and observing your fluffy pet in its new home. Make sure to provide fresh bedding for the rabbits and regularly clean the hutch. Change water bottles daily and make sure to provide a healthy diet of hay, pellets, fresh vegetables and occasional treats. Have fun watching your rabbits play in their new home! Enjoy your new rabbit hutch!

Hi everyone! I’m a woodworker and blogger, and this is my woodworking blog. In my blog, I share tips and tricks for woodworkers of all skill levels, as well as project ideas that you can try yourself.


